This tutorial results from my aggravation with not locating a comprehensive end-to-end work on model construction, assessment, and deployment on AWS. I’ve seen online guidelines and tutorials cover a portion of the picture and never fully connect the dots. I wanted to construct something that would assist people to understand the entire process of creating a model and distributing it so that front-end developers could access it on their websites and apps.
So, let’s get this party started!
This guide is divided into two sections.
- AWS Sagemaker Studio is use for model development and evaluation.
- Model deployment with MLOps in AWS sagemaker Lambda and REST APIs.
Prerequisites:
- An AWS account: The entire course will cost less than $0.50, so don’t worry.
- Understanding of Python: Python is use for the majority of Machine Learning work nowadays.
- Patience: The most fundamental requirement to success is a failure, so keep trying until it works.
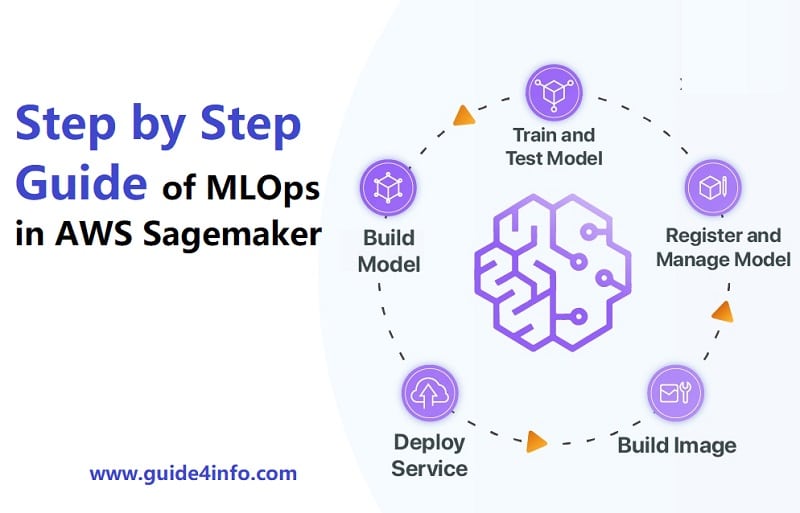
Part 1: Model Creation
To design our development pipeline, we will create a Project in Sagemaker Studio.
- Sign in to your MLOps in Aws sagemaker Cloud account and choose Sagemaker from the services list.
- Choose Sagemaker Studio and click the Quickstart button to start. Launch it using the user you just created when the studio is complete. It may take a few minutes to construct the Application, but once everything is in place. Don’t forget to click and enable “Enable amazon sagemaker project templates and jumpstart for this account and studio users”. One important information you should note down that we can only create one studio but multiple users in that studio can create multiple users.
- Pick Sagemaker components and registries from the left navbar and then Create Projects. Sagemaker comes with templates that may generate and test host models by default. We will utilize one of these templates and adapt it to match our needs.
- Select the MLOps template for model creation, assessment. And deployment and create a project from the selection and create project. When you start a new project, two pre-built repositories will appear. The first outline your proposed framework and assessment, while the second package your model and distributes it to an endpoint for API consumption. We will alter the first template in this guide to execute our use case.
- Clone the initial repository so that we may alter the necessary files.
We will be working on one of the Client Churn Models to forecast if customers are most likely to disconnect from the services in the future.
Because the goal of this notebook is to understand model creation and deployment in the cloud, I will skip data exploration and leap right into pipeline development.
This is the file organization of the repository that we just cloned; now, let’s go through some of the files we’ll be dealing with.
The pipelines folder contains the file required to establish our model production schedule, called abalone by default.
- Pipeline.py specifies the pipeline’s components; it is presently define with default settings, but we will update the code for our use case.
- The files preprocess.py and evaluate.py specify the code that must be executed throughout our pipeline’s pre-processing and evaluation phases.
- The pipeline is created and orchestrated by code build-build spec-yml.
More stages may be added to pipeline.py and the accompanying processing files. The templates also include a test folder and a test pipelines.py file that can be used to set up a separate test pipeline.
6. Rename the abalone folder to customer-churn. Change the appear to be supported file to reflect the change.
7. To consume the data, we need to download it into our default MLOps in the AWS sagemaker s3 bucket, which we can accomplish using a notebook. From the File tab in the studio, create a new laptop in the repository, choose a kernel with a basic data science python package, paste the code below into the cell and execute.
To meet our requirements, we must edit the code in pipeline.py, evaluate.py, and preprocess.py.
8. For the tutorial’s sake, copy the code from the link to change the code in pipeline.py, preprocess.py, and evaluate.py but go through the code to better grasp the intricacies.
9. Go to the pipeline tab on the endeavour page and select the pipeline you created to inspect the executions flowing. You should find one Succeeded job created automatically when we cloned the repository. The other would be that you just executed by pushing code in Executing state. Double click on this to inspect the pipeline diagram and more detailed information.
Hurray!! Congratulations on completing your first educational assignment.
Until something problem occurs, you should consider your task a success; but, remember that everyone would be doing it if it were simple. The first step toward success is failure.
Once the pipeline finish, it will generate modeling and add it to your group in comparison. However, because we specify a model permission condition of “Manual” in the pipeline. We will need to manually choose and approve the model to get an Endpoint that can be use for inference.
10. Go to the Modeling Group tab on your project’s home page and choose the built model. You can evaluate the assessment phase findings on the Metrics page.
11. If you are happy with the metrics, click the Approval button in the upper bottom right to confirm the model.
Our second version comes into play; if you accept the model deployment pipeline provided in the second repository, it will run to distribute and host a new ENDPOINT from which we may make API inferences.
Conclusion
We have attempted to maintain this tutorial using Sagemaker because it’s already long, and there’s a part 2.
The goal here is to provide a short introduction of the various components of Sagemaker by building a basic project. My advice to readers is not to follow the guide step by step but to experiment with your ideas and procedures; you will fail frequently, but you will learn a lot, and that is the goal.
I hope you enjoy working through this tutorial (MLOps in AWS Sagemaker) as much as I did create it. Please leave any suggestions or thoughts in the comments section; I’d look forward to hearing them.
Interesting read: Machine Learning Operations with example